Skyrim Temple of Miraak Walkthrough
Skyrim Temple of Miraak Black Book
Skyrim Explore Temple of Miraak
In Skyrim Dragonborn DLC, the hero, Serena and Frea enter the temple of Miraak to find Miraak, the source of his power or something associated with him that can stop the mind-controlling effects of Miraak. This will guide the hero on how to navigate the treacherous temple of Miraak, find Miraak and get the Black Book.
Solstheim Temple of Miraak Monsters And Traps
The monsters in the Temple of Miraak on Solstheim include cultists, cultist adepts and draugrs. The temple of Miraak is also filled with lots of traps. The hero must be very careful when walking around to avoid the pressure plates that will trigger the traps. Occasionally, the traps can be used to defeat the monsters, or at least lessen the odds and numbers of these monsters.
As a team of the hero, Serena and Frea, the monsters should not be too much of a challenge, unless they all attack the team at once and in overwhelming numbers. So deal with the monsters one manageable group at a time, and use Serena and Frea as tanks if the hero is the bow or magic specialist. Serena will also summon her undead companion, so that would make this team four versus the temple of Miraak monsters.
Navigate the Temple of Miraak
This will provide a walkthrough of the temple of Miraak so the hero can navigate easily and tactically defeat the monsters and reach the final room and the Black Book.
From the entrance of the temple, speak to Frea and proceed down the long corridor (the hero may want to loot the rooms that litter the side of this long corridor; the loot is OK but not fantastic).
At the end of the corridor will be a pair of doors that will lead to a pressure plate on the ground that will release poison darts. Some cultists will also emerge at this point. Defeat them.
If the hero goes and disturbs the tombs, then draugrs will appear. Defeat them.
Head down the one way passage and avoid traps until a chain is reached. Activate this to open the gate. The gate opens into a large chamber with cages hanging in the center of the chamber.
Head west and then north in this chamber to reach more draugr tombs. Disturb and defeat the draugrs first, without alerting the cultists that will be arriving from down under; otherwise the odds will be too overwhelming, given the draugrs use melee attacks, and the cultists use fireball attacks.
After the draugrs are defeated, defeat the cultists and then head downstairs. Follow the one way passageway until a gate is reached. Activate the handle on the left to open the gate.
Beyond the gate, the passageway leads the hero to more draugr tombs and draugrs. The way that will open up will lead the hero into a potential swinging spike door trap. Here the draugrs will likely converge and attack, activating the trap themselves and cause some self-inflicted damage. At the same time, a swinging log will fall and hurt the team or the draugrs or both.
Continue down the passageway until a pair of double doors is reached. As the hero approaches the doors will close and jets of fire will erupt from the side. Wait long enough, and the jets of fire will subside and the doors will open again. Hurry through before they shut again, and the jets of fire are re-activated.
Beyond this pair of doors are the swinging pendulum axe blades. Use the trusted dragon shout Whirlwind Sprint to get past the three sets of blades, until the hero reaches a lever. Activate the lever to open the gate and de-activate the swinging axe blades.
Continue down the passageway until a pair of doors is reached. Enter through this into a chamber. A really dead draugr will fall out of a sarcophagus, alerting the hero to go this way. Follow the passageway until a lever is reached. Activate this and the gate beyond will be raised. Then find a chain just ahead and to the left of the pair of doors. This will cause the bridge beyond the gate to fall and create a bridge for the hero to cross.
Beyond the bridge, three more bridges will fall, unmasking archer draugrs and a cultist adept. Use sneak bow and arrows attacks to deal with these from a distance. Defeat them and then use the double doors to enter the Temple of Miraak Sanctum.
Temple of Miraak Sanctum Walkthrough
Passing through the double doors, the hero should reach a caged corridor. Proceed through and encounter some cannon fodder type skeletons. Finish them, turn left at the end and encounter some draugrs who emerge from their sarcophagus as some log traps are activated. Defeat the draugrs and proceed further and under the caged corridor. Head on and reach an area with some stairs. Defeat cultist adepts and continue to advance and go down some stairs to an area lined with sarcophagus. There will be a wall here containing the Word of Power - Strength, Dragon Aspect.
Defeat the draugrs and especially a draugr called the Gatekeeper. The Gatekeeper will have the Temple of Miraak key that will open the iron door that lies inside a sarcophagus. Open the door and proceed through into a dining or meeting room with long dead occupants. Go through the next set of door and arrive at what looks like an area used for living in the past. Look for a switch somewhere in this area to open a secret passage. Frea will announce that the secret passage has been found. Go into the secret passage and activate a lever that will allow the hero and team to descend some stairs. The exit from here is a wooden door.
Through the wooden door, the hero will arrive at a really large chamber where skeletons and draugrs are filing out. Basically, Serena and Frea can defeat the small time skeletons and draugrs. The draugr that is challenging will be the Draugr Death Overlord. To defeat this draugr, ignore the other monsters in the chamber and sneak on the right hand side of the chamber until the draugr death overlord is reached. Or until the hero reaches the back of the draugr death overlord. Sneak attack him from the back, dealing massive damage and crippling him. Once the draugr death overlord is down, defeat the remaining of the other draugrs and pull a chain at the end of the chamber and proceed past the doors.
Note the bow used here is Auriel's Bow and bloodcursed elven arrows.
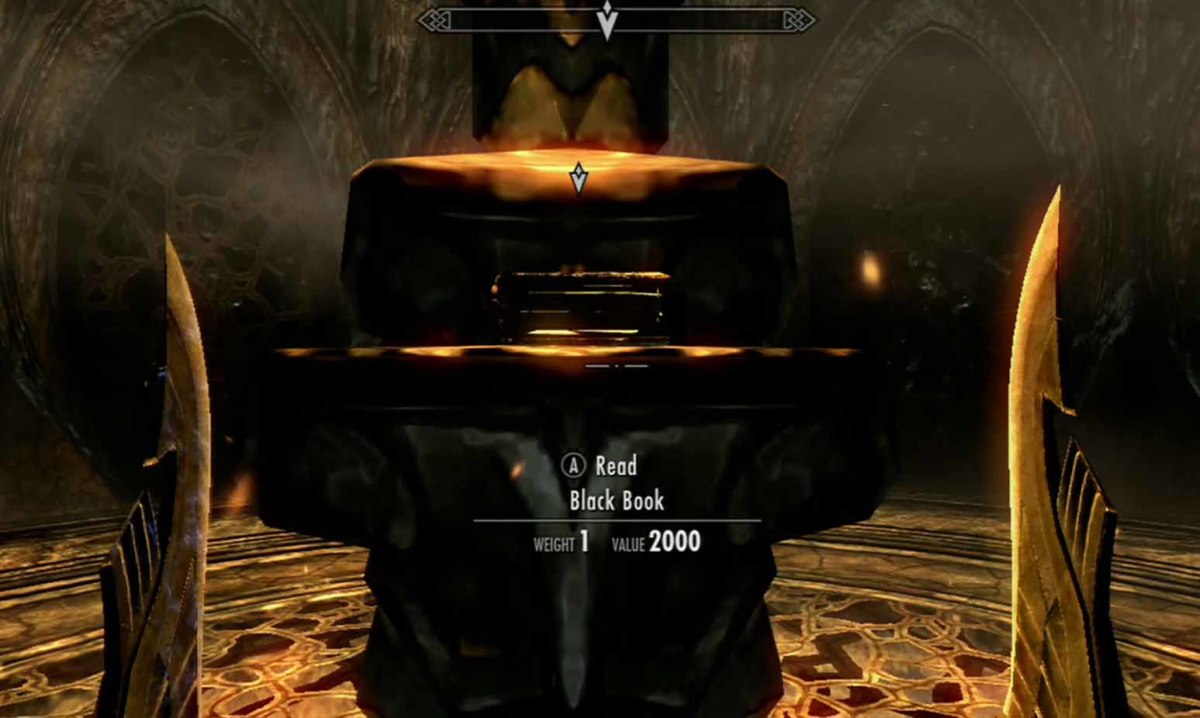
Go through a tunnel and arrive at the final room. Within the final room, find the Black Book. Reach out for it and read it. And get introduced to Miraak through waking dreams.
Next, helping the Skaal.
